We are about to show you our pipeline for creating a 3D character. We used a six-step process to build a visually appealing model. The stages include design and concept, sculpting, retopology, UV sweep, bake maps, and texturing. At every step, we used industry-standard software to work on the model.
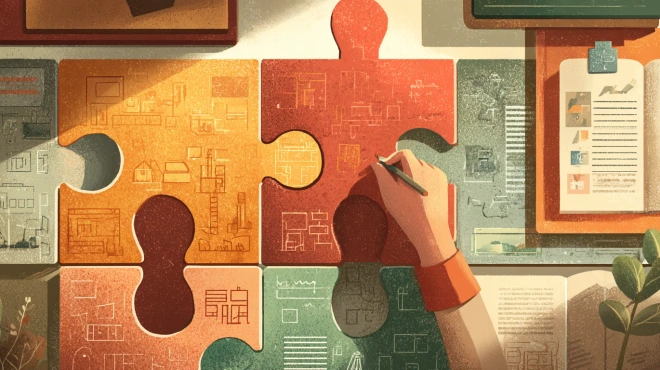
Step 1: design & concept
So we have an idea that needs to be expressed in a concept. This is an important stage, which will be the basis for all further work. Because the concept is a kind of plan, following which we save a lot of time and nerves. With the concept, we have a clear idea of the final result and the steps that are necessary to implement it.
Step 2: sculpting
Once we’ve decided on a character and we already have a concept in place, we move on to the sculpting phase. Sculpting is the process of «sculpting» on the computer from a material similar to digitized clay. ZBrush is used for this in most cases, but there is also other software for this task: Sculptris, Blender, Mudbox, 3DCoat.
The main task is to create the most detailed model. To model the characters were easier, the sculpt is divided into 3 reeds:
- First Reed — the basic shape and silhouette;
- Second Reed — the interior filling and great details;
- Third Reed — small details and anatomy details.


We have finished the sculpting process and we have a finished high poly model. It has 12M polygons. It is not suitable for further work. We have to optimize it. This is where the retopology process will help us.


Step 3: retopology
Retopology means recreating the model. This is a very important step because this is the model we will use in the engine. We create another light model with fewer polygons to make the model fit the game requirements. This model is called low poly. Proper retopology of the model has two goals:
-
- 1. Obtaining the correct deformation during animation;
-
- 2. To use the minimum number of polygons to describe the desired shape.
Any software which has a suitable toolkit will do. This can be Topogun, Maya, 3DCoat, 3ds Max, and others.
After we optimized our model, it has 14000 polygons. This version is suitable for further work. But before proceeding to the coloring procedure, we need to do something else. Texturing software cannot superimpose textures on the 3D model, so we have to unwrap it and make it into a 2D version.


Step 4: UV sweep
A sweep is a two-dimensional projection of the model on a plane, with which we can apply textures to the model. With a sweep, we specify how exactly the 2D texture should be superimposed on the 3D object. When creating a reamer, you should try to hide the seams in less visible places, such as — the inner side of the arm, armpit, etc.
To create a scan, we use the software for this purpose RizomUV, UV layout. Other programs with similar tools are also suitable: Maya, 3ds Max, 3DCoat, etc.


Step 5: bake maps
We need this step to transfer the detail from the high poly model to the low poly model. Texture maps such as Normal Map, Ambient Occlusion, and others are used here. Luckily, they are created fully automatically. The Substance Painter is great for baking the maps. We end up with a detailed model with a few polygons. After baking we come to the most creative process, texturing.

Step 6: texturing
Texturing is the process of superimposing a bitmap image on the surface of a 3D object for its realism. Generally used software include Substance Painter, Mari, Quixel, 3DCoat, etc.


Substance Painter allows you to apply textures to the model procedurally and also has the ability to paint directly on the model. This gives us the correct textures for creating PBR (Physically Based Rendering) material in the engine.


Conclusion
We have a robust and proven process for creating a 3D character. Best of all, our team of experienced 3D experts leverages their many years of experience and our wide range of technologies and tools to build models that stand out.
At every stage of the process, we assign specialized team members to contribute to developing a perfect 3D model. To learn more, get in touch with us today!